How to Fix a Broken Screen: Step-by-Step Guide for Phones & Laptops
How to Fix a Broken Screen delivers precise diagnosis steps and repair options for phones and laptops. This guide covers DIY methods.
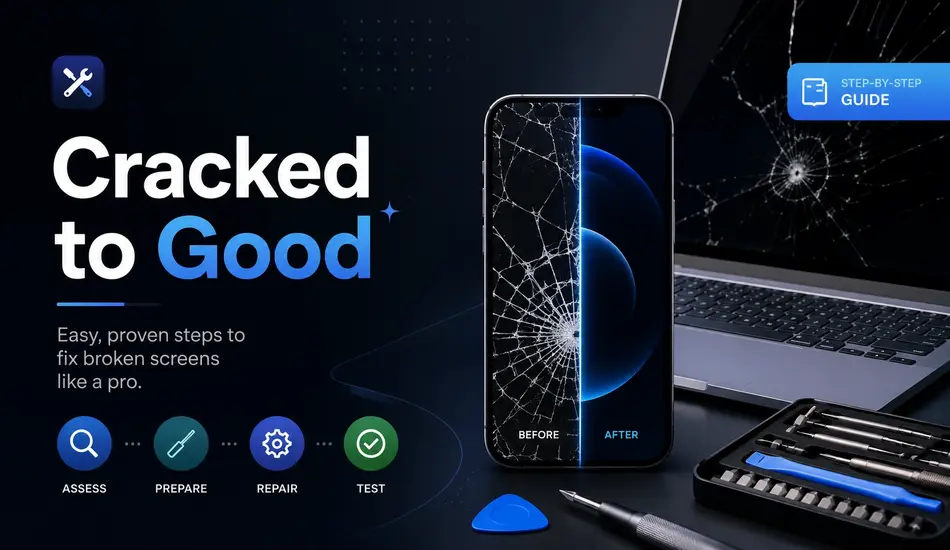
That sinking feeling when your phone hits the floor face-down often leads to screen damage. This guide explains how to fix broken screen issues on both phones and laptops. Readers learn damage diagnosis, DIY versus professional options, step by step repair methods, and cost breakdowns. Since proper assessment prevents expensive errors, follow the structured process detailed throughout this article.
What Type of Screen Damage Do You Have?
Self diagnosis forms the essential first step before any repair attempt. Three main damage types include cracked glass, black unresponsive displays, and internal lines with spots. Since accurate identification reduces costly mistakes, examine symptoms carefully against likely causes and recommended fixes. A quick reference table helps match visible issues to appropriate actions for phones and laptops alike.
Cracked or Shattered Glass
Cracked or shattered glass appears as spider web patterns across the surface with possible chipped corners. Loose fragments create safety risks even when the device still functions normally. Although the underlying LCD or OLED panel may remain intact, this situation affects overall repair costs significantly. Technicians assess the extent of damage before choosing between temporary containment or full replacement procedures.
Black or Unresponsive Screen
A completely black screen usually indicates LCD damage or disconnected display cables in most cases. Perform a simple restart first to rule out software glitches before assuming hardware failure. Digitizer issues can render touch inputs unresponsive while the display appears visually intact underneath. Technicians test connections thoroughly since this step identifies whether full panel replacement becomes necessary for full restoration.
Lines, Spots, or Bleed Marks on Display
Lines, spots or bleed marks signal internal display panel damage rather than surface glass issues alone. Ink like spreading patches or dead pixels confirm the need for complete screen assembly replacement in most situations. Vertical or horizontal lines typically spread over time without intervention from qualified technicians. Since these faults originate deeper than cracks, DIY attempts rarely resolve them without specialized tools and parts.
Is it just a Prank Fake broken Screen?
Should You DIY or Go to a Repair Shop?
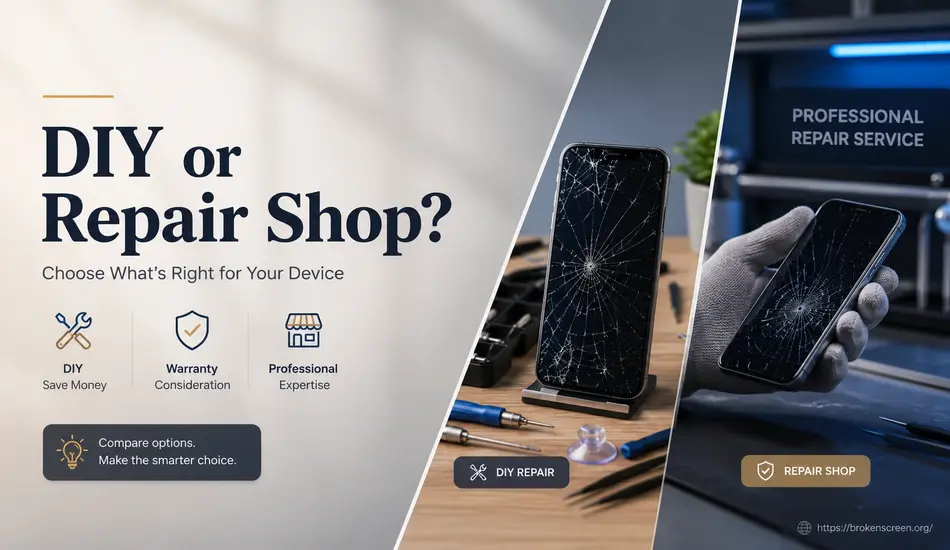
Device type along with warranty status determines whether DIY repair or professional service makes better sense overall. Comfort level with tools and available budget influence this decision heavily for both phones and laptops. Since each approach carries distinct advantages, compare them directly against your specific circumstances first. This evaluation prevents unnecessary complications during the how to fix broken screen process.
When DIY Repair Makes Sense
DIY repair makes sense for older Android devices that sit outside active warranty coverage. Budget constraints and previous experience with electronics improve success rates for these repairs. Since parts remain widely available for popular models, technicians save between forty and seventy percent on labor expenses. Model specific kits from reliable suppliers support successful outcomes when users follow detailed guides carefully.
When to See a Professional
See a professional for devices still covered under warranty or protection plans like AppleCare. Newer flagship models with sealed designs present higher risks during disassembly attempts. Since MacBooks use adhesive bonded screens, authorized service centers reduce chances of voiding remaining coverage significantly. Professionals deliver higher success rates and warranties that protect the investment after repair completion.
How to Fix a Broken Phone Screen (Step-by-Step)
How to fix broken screen issues on phones requires careful preparation and model specific knowledge for beginners. Start with a complete tool checklist and safety protocols before opening any device. Since battery contact poses serious hazards, discharge power fully and work in a clean environment. Reference supplementary resources for exact model variations that affect the repair sequence.
Step 1 – Gather Your Tools and Replacement Parts
Gather suction cups, spudgers, precision screwdrivers and high concentration isopropyl alcohol first. Obtain a full replacement screen assembly that matches your exact phone model precisely. Since quality parts determine final results, select OEM or equivalent components from trusted suppliers. Model specific repair kits reduce compatibility errors and support higher success rates during assembly.
Step 2 – Back Up Your Data Before You Begin
Back up all data before starting any disassembly procedure on the device. Use built in cloud services to protect photos, contacts and applications effectively. Since errors during repair can cause total data loss, this step takes only minutes yet prevents major disasters. Complete verification of the backup ensures information remains accessible after screen replacement.
Step 3 – Open the Device Safely
Apply gentle heat along edges to loosen adhesive seals around the phone perimeter. Lift the screen slightly with a suction cup then insert a spudger carefully. Since rushing causes cable tears, work slowly around all sides in sequence. This technique preserves internal components and maintains structural integrity throughout the opening process.
Step 4 – Remove the Damaged Screen
Disconnect display and digitizer ribbon cables from motherboard connectors with precision tools. Some phones contain two or three separate cables that require individual handling. Since metal tools damage connectors easily, use only plastic spudgers for this task. Organize screws in labeled trays to ensure correct reassembly afterward.
Step 5 – Install the New Screen and Test
Connect new screen cables securely before seating the panel into the frame. Test touch response, display uniformity and camera function while components remain accessible. Since premature adhesive application complicates adjustments, verify full operation first. Apply fresh adhesive strips then press edges firmly for several minutes.
How to Fix a Broken Laptop Screen
Laptop screen replacement follows simpler procedures than phones because most models use standard screws. Since adhesive appears only on specific brands, preparation focuses on bezel removal and cable management instead. This guide outlines general steps that apply across multiple manufacturers successfully. Technicians complete these repairs efficiently when they match exact panel specifications beforehand.
Identify Your Screen Model and Source a Replacement
Find the screen model number on a sticker located behind the display panel. Search using laptop model name combined with resolution and connector type details. Since mismatched specifications prevent proper function, verify size, resolution and connection type match exactly. Reliable resources provide videos that demonstrate location specifics for different laptop series.
Replace the Laptop Display Panel
Remove the bezel by releasing plastic clips and hidden screws under rubber covers first. Unscrew the panel then disconnect video and webcam cables carefully. Swap the damaged unit with the new panel before reconnecting all components. Test functionality completely before snapping the bezel back into position.
Tips for Specific Laptop Brands
Dell and HP laptops rely on standard Phillips screws without adhesive for easiest access. Lenovo models follow similar patterns but may include additional IR camera cables during removal. Since MacBooks use adhesive bonded screens, professional service prevents lid damage in most situations. Apple self service programs offer parts for certain recent models only.
Broken Screen Repair Cost: What to Expect
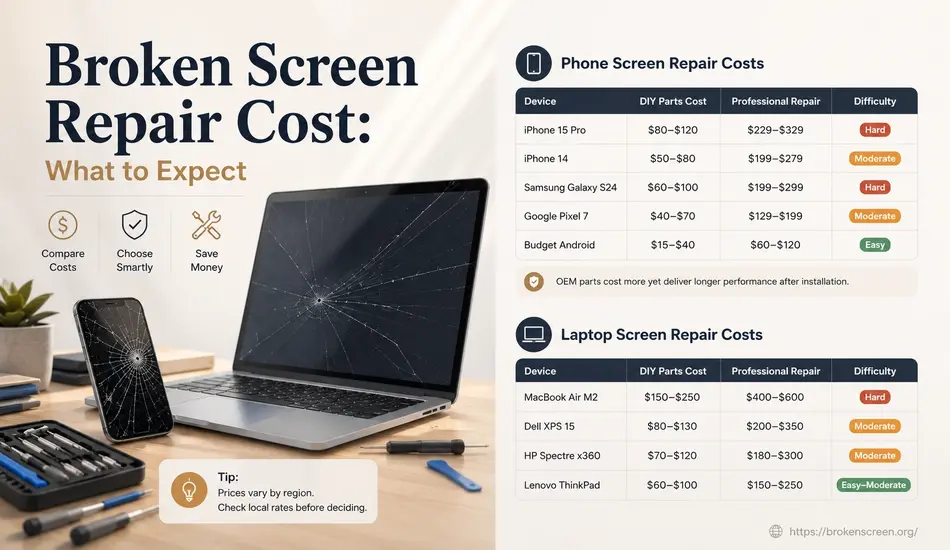
Repair costs vary based on device age, parts quality and service provider choices significantly. DIY options reduce expenses through direct part purchases while professional repairs include labor and warranties. Since prices fluctuate by region, check current rates locally before deciding. The tables below outline typical ranges for popular phones and laptops.
Phone Screen Repair Costs
| Device | DIY Parts Cost | Professional Repair | Difficulty |
|---|---|---|---|
| iPhone 15 Pro | $80–$120 | $229–$329 | Hard |
| iPhone 14 | $50–$80 | $199–$279 | Moderate |
| Samsung Galaxy S24 | $60–$100 | $199–$299 | Hard |
| Google Pixel 7 | $40–$70 | $129–$199 | Moderate |
| Budget Android | $15–$40 | $60–$120 | Easy |
OEM parts cost more yet deliver longer performance after installation.
Laptop Screen Repair Costs
| Device | DIY Parts Cost | Professional Repair | Difficulty |
|---|---|---|---|
| MacBook Air M2 | $150–$250 | $400–$600 | Hard |
| Dell XPS 15 | $80–$130 | $200–$350 | Moderate |
| HP Spectre x360 | $70–$120 | $180–$300 | Moderate |
| Lenovo ThinkPad | $60–$100 | $150–$250 | Easy–Moderate |
Prices vary by region, technician expertise, and parts quality. OEM components cost more but last longer after installation.
Temporary Fixes While You Wait for Repair
Temporary fixes contain damage until permanent how to fix broken screen solutions become available. Clear packing tape holds glass fragments and prevents cuts during handling. External monitors allow laptop continued use through HDMI connections. Tempered glass screen protectors contain cracks on phones and limit further spreading effectively.
How to Prevent Screen Damage in the Future
Tempered glass screen protectors absorb impact energy during accidental drops successfully. Quality cases meet strict drop protection standards for reliable defense. Padded laptop sleeves cushion devices inside bags against pressure damage. Avoid placing phones face down on hard surfaces since most drops occur near table edges. HONOR phones offer screen damage protection service that covers one free repair with minimal fees.
Frequently Asked Questions
Q1: Can I fix a broken phone screen myself?
Yes for many Android phones and older iPhones when proper tools are available. Newer models with complex OLED designs increase difficulty substantially. DIY approaches save forty to seventy percent compared with professional repair costs. Specific guides provide model accurate disassembly sequences that improve success rates.
Q2: How much does it cost to fix a broken phone screen?
DIY parts range from fifteen to one hundred twenty dollars depending on the model. Professional repair costs between sixty and three hundred twenty nine dollars in most cases. Official programs from manufacturers provide structured pricing with warranty protection included. Since prices vary by location, obtain local quotes before choosing.
Q3: Will fixing my screen myself void the warranty?
DIY repair usually voids manufacturer warranties on sealed devices. Exceptions exist for authorized service centers and specific extended protection plans. Check warranty status through official channels before opening the device. Professional repairs at certified locations preserve remaining coverage in most situations.
Q4: Can a cracked screen cause further damage if left unrepaired?
Yes moisture and dust enter through cracks and accelerate internal damage over time. Glass fragments create safety hazards during normal handling. Since problems spread without intervention, prompt repair prevents expensive complications later. Functional screens still require attention to avoid progressive failure.
Q5: How do I fix a broken laptop screen?
Identify the exact panel model number first then source a matching replacement. Remove the bezel, disconnect cables, swap the panel and test before final assembly. Most non premium laptops use accessible screws that simplify the entire process. This method works effectively for beginners who follow precise instructions.
Q6: Is it worth repairing an old phone’s broken screen?
Repair proves worthwhile only when costs stay below fifty percent of current market value. Flagship phones less than two years old justify investment in most cases. Since newer devices retain higher resale value, professional service extends useful life considerably. Budget devices often make upgrading the more practical choice instead.